I get asked this one all the time:
“Darren, where do you guys actually ride?”
And every time, I give roughly the same answer: I’m probably not sending you a pin.
Instead, I’ll ask what bike and kit you’re riding, how much experience you have, what kind of terrain you enjoy and what you’re hoping to find. Then I’ll help you understand what to look for so you can start finding good terrain of your own.
That’s not me being cagey just for the fun of it. Nearly every good riding area I know was shown to me by someone else—usually face to face and with the understanding that I wouldn’t publish it for the entire internet.
That unwritten agreement is part of what keeps this sport good. Riders share places with people they trust. They don’t necessarily attach location tags, post coordinates or send hundreds of strangers toward someone else’s favorite zone.
I’m not going to be the guy who breaks that agreement.
What I will do is help you learn how to find great snowbike terrain yourself. That knowledge will take you a lot farther than one pin ever could.
What Actually Makes Snowbike Terrain “Good”?
There isn’t one perfect type of snowbike terrain. A great riding area for someone on a playful short-track setup might be miserable for a newer rider—or for someone who prefers a planted, technical mountain machine.
The real goal is to find terrain that fits your bike, your ability and the kind of riding you enjoy.
Here are the big things I look for.
Tree Spacing
Tight trees create slower, more technical riding. They can protect snow from the wind and preserve pockets of powder after open areas have been tracked out—but a heavy tree canopy can also mean less snow reaches the ground.
Open glades give you more room to carry speed, turn and play. Big meadows can be a blast, but they also tend to get wind-affected and tracked out quickly.
The sweet spot is often a mix: enough room to move, but enough cover to keep the snow interesting.
Aspect
The direction a slope faces makes a huge difference.
North-facing terrain generally receives less direct sun, so it often holds colder snow longer. South-facing slopes warm up faster and can become crusty, heavy or spring-like much earlier in the day.
That doesn’t mean north-facing terrain is automatically better—or safer. Aspect is also an important part of understanding the current avalanche problem. Think of it as one more piece of the puzzle, not a shortcut.
Elevation
Snow depth and quality can change remarkably fast as you climb.
The trailhead might be wet, thin and disappointing while the riding several thousand feet higher is completely different. Before writing off an area, look at the elevation of the actual terrain—not just the parking lot.
Elevation can also change visibility, wind exposure, temperature and avalanche conditions. More snow does not automatically mean fewer problems.
Slope Shape and Terrain Traps
It’s easy to look at a steep hillside and see nothing but untouched snow. You also need to notice what is above and below it.
Creek bottoms, gullies, road cuts and depressions can collect avalanche debris and make the consequences of even a smaller slide much worse. Convex rollovers can hide steep terrain until you are already committed.
Good terrain gives you options. Look for safe places to stop, reasonable escape routes and ways to move through the area without being forced into something you don’t want to ride.
Variety
The best zones usually offer a little of everything:
Meadows where you can open it up
Glades with room to pick lines
Tighter trees when you want a challenge
Sidehills and small features to play on
Easier routes back to the truck when the weather changes or someone gets tired
If an area only offers one kind of riding, it can get old quickly. Variety also lets riders of different ability levels enjoy the same day without everyone being forced into the same terrain.
Start With Legal Access
Good snowbike terrain starts with terrain you are actually allowed to ride.
Before unloading, confirm the land ownership, winter motorized-use rules, seasonal restrictions and current closures. A regular Motor Vehicle Use Map does not always govern over-snow travel, so look for the applicable Over-Snow Vehicle Use Map, winter travel map, forest order or other current direction from the managing agency.
The U.S. Forest Service maps page is a good starting point, but you should also check the website for the specific National Forest or ranger district you plan to visit. onX can also be useful for this.
A line in a mapping app is not proof that a route is open. Neither are old tracks, an unlocked gate or a buddy saying, “We’ve always ridden there.”
Respecting closures and private property protects the access all of us depend on.
Let the Tools Do Some of the Scouting
You don’t need secret information to start narrowing down possible riding areas. You need a few good public tools and enough patience to compare them.
Forest Service Maps and Winter Travel Information
Use official maps to identify legal motorized routes and over-snow areas. Then check current forest orders, temporary closures and seasonal restrictions before every trip.
Download the appropriate maps for offline use. Cell service has a bad habit of disappearing right when you need it.
SNOTEL Stations
The NRCS Snow and Water Interactive Map provides current and historical information from SNOTEL and other monitoring stations.
A SNOTEL station won’t tell you exactly what every nearby ridge looks like, but it can show:
Current snow depth
Recent snowfall or precipitation
Snow-water equivalent
Temperature
Whether the snowpack is building, settling or melting
How conditions compare with earlier dates and past seasons
That is usually more useful than a text from someone saying, “Yeah, it was pretty good last weekend.”
Avalanche Forecasts
For North Idaho, check the Idaho Panhandle Avalanche Center forecast before heading into the mountains. Outside the local forecast area, the national avalanche forecast directory can help you find the appropriate regional center.
Don’t stop at the overall danger rating. Read:
The avalanche problems
Which elevations and aspects are affected
Expected avalanche size and likelihood
Recent observations
Mountain weather and incoming storms
The forecaster’s travel advice
A forecast is a planning tool—not a permission slip. Conditions can vary within a forecast zone, and they can change during the day.
Mapping Apps
Apps such as onX Offroad and Gaia GPS can help you layer:
Public and private land boundaries
Topographic contours
Elevation
Slope angle
Aspect
Satellite imagery
Roads and trails
Use them to build a picture of an area before you leave home. Then verify motorized access through the agency responsible for that land.
Mapping apps are excellent scouting tools. They are not a substitute for an official closure notice, winter-use map or good judgment in the field.
How I Would Scout a New Area
If I were looking at a completely unfamiliar zone, I’d work through it in this order:
Confirm legal access. Determine who manages the land and which winter motorized-use rules apply.
Check the snow trend. Compare nearby SNOTEL stations, recent weather and elevation.
Read the avalanche forecast. Identify the day’s avalanche problems before choosing terrain.
Study the map. Look for realistic access, varied terrain, potential creek crossings, steep slopes and a dependable route back.
Treat the first ride as reconnaissance. Don’t expect to find the best lines immediately. Learn how the roads connect and how the terrain actually looks from the ground.
Save useful information. Mark hazards, dead ends, creek crossings and navigation points—not just the place where you found good snow.
Earn local knowledge. Ride with good people, be respectful and don’t broadcast the places they trusted you enough to share.
That final step matters. If you want experienced riders to show you good terrain, prove that you are someone they will want to ride with again.
Ride It Responsibly
Finding new terrain comes with more responsibility than simply following someone else’s track.
Ride with capable partners.
Tell someone where you are going and when you expect to return.
Carry appropriate communication and recovery equipment.
Bring a beacon, shovel and probe—and know how to use them.
Don’t enter avalanche terrain without proper education and training.
Respect private property, closures and other winter users.
Pack out everything you bring in.
Turn around before a questionable situation becomes an emergency.
There will always be another riding day. There may not always be another easy way out.
When You’re Ready, Come Find Moto365
This is where I can help more directly.
Make an appointment to visit Moto365 in Post Falls, Idaho and tell me what you’re riding, how you like to ride and what kind of terrain you’re looking for. I can help you understand what will suit your bike, kit, experience and goals for the season.
I still may not hand you someone else’s secret pin—and now you know why.
But I’ll help get you pointed in the right direction, make sure your setup fits the riding you want to do and give you a much better idea of what to look for when you get there.
Call or text 208-413-1897 to arrange a shop visit.
Find your own good snow. Then be smart about who you show it to.
Matching your setup to your terrain? Read our snowbike kit buyer’s guide.
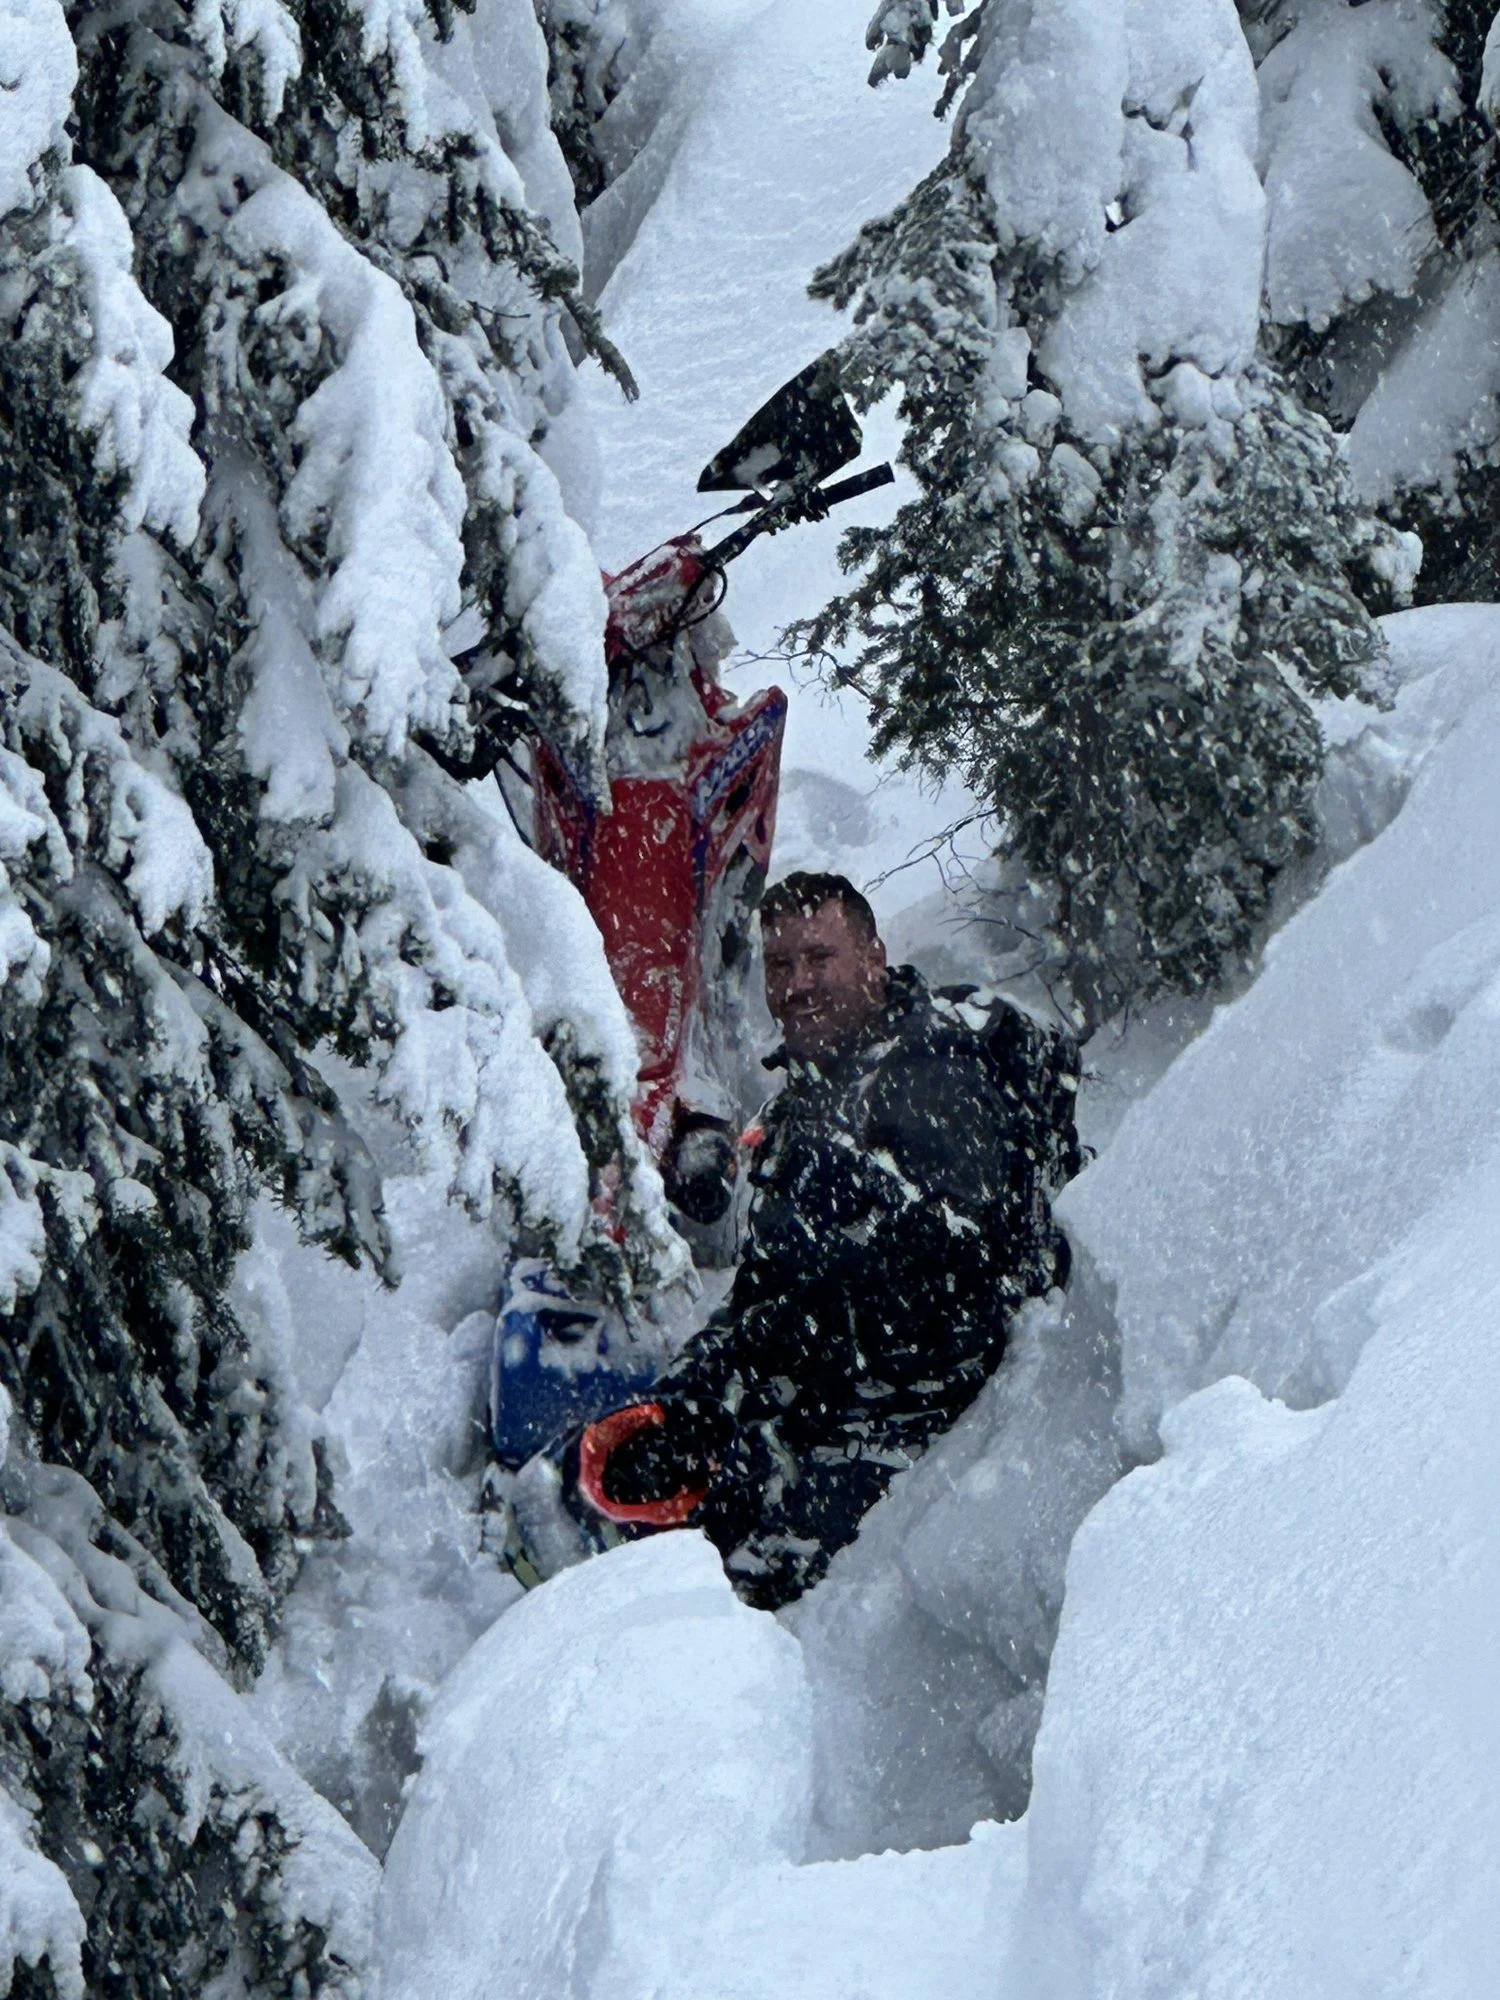
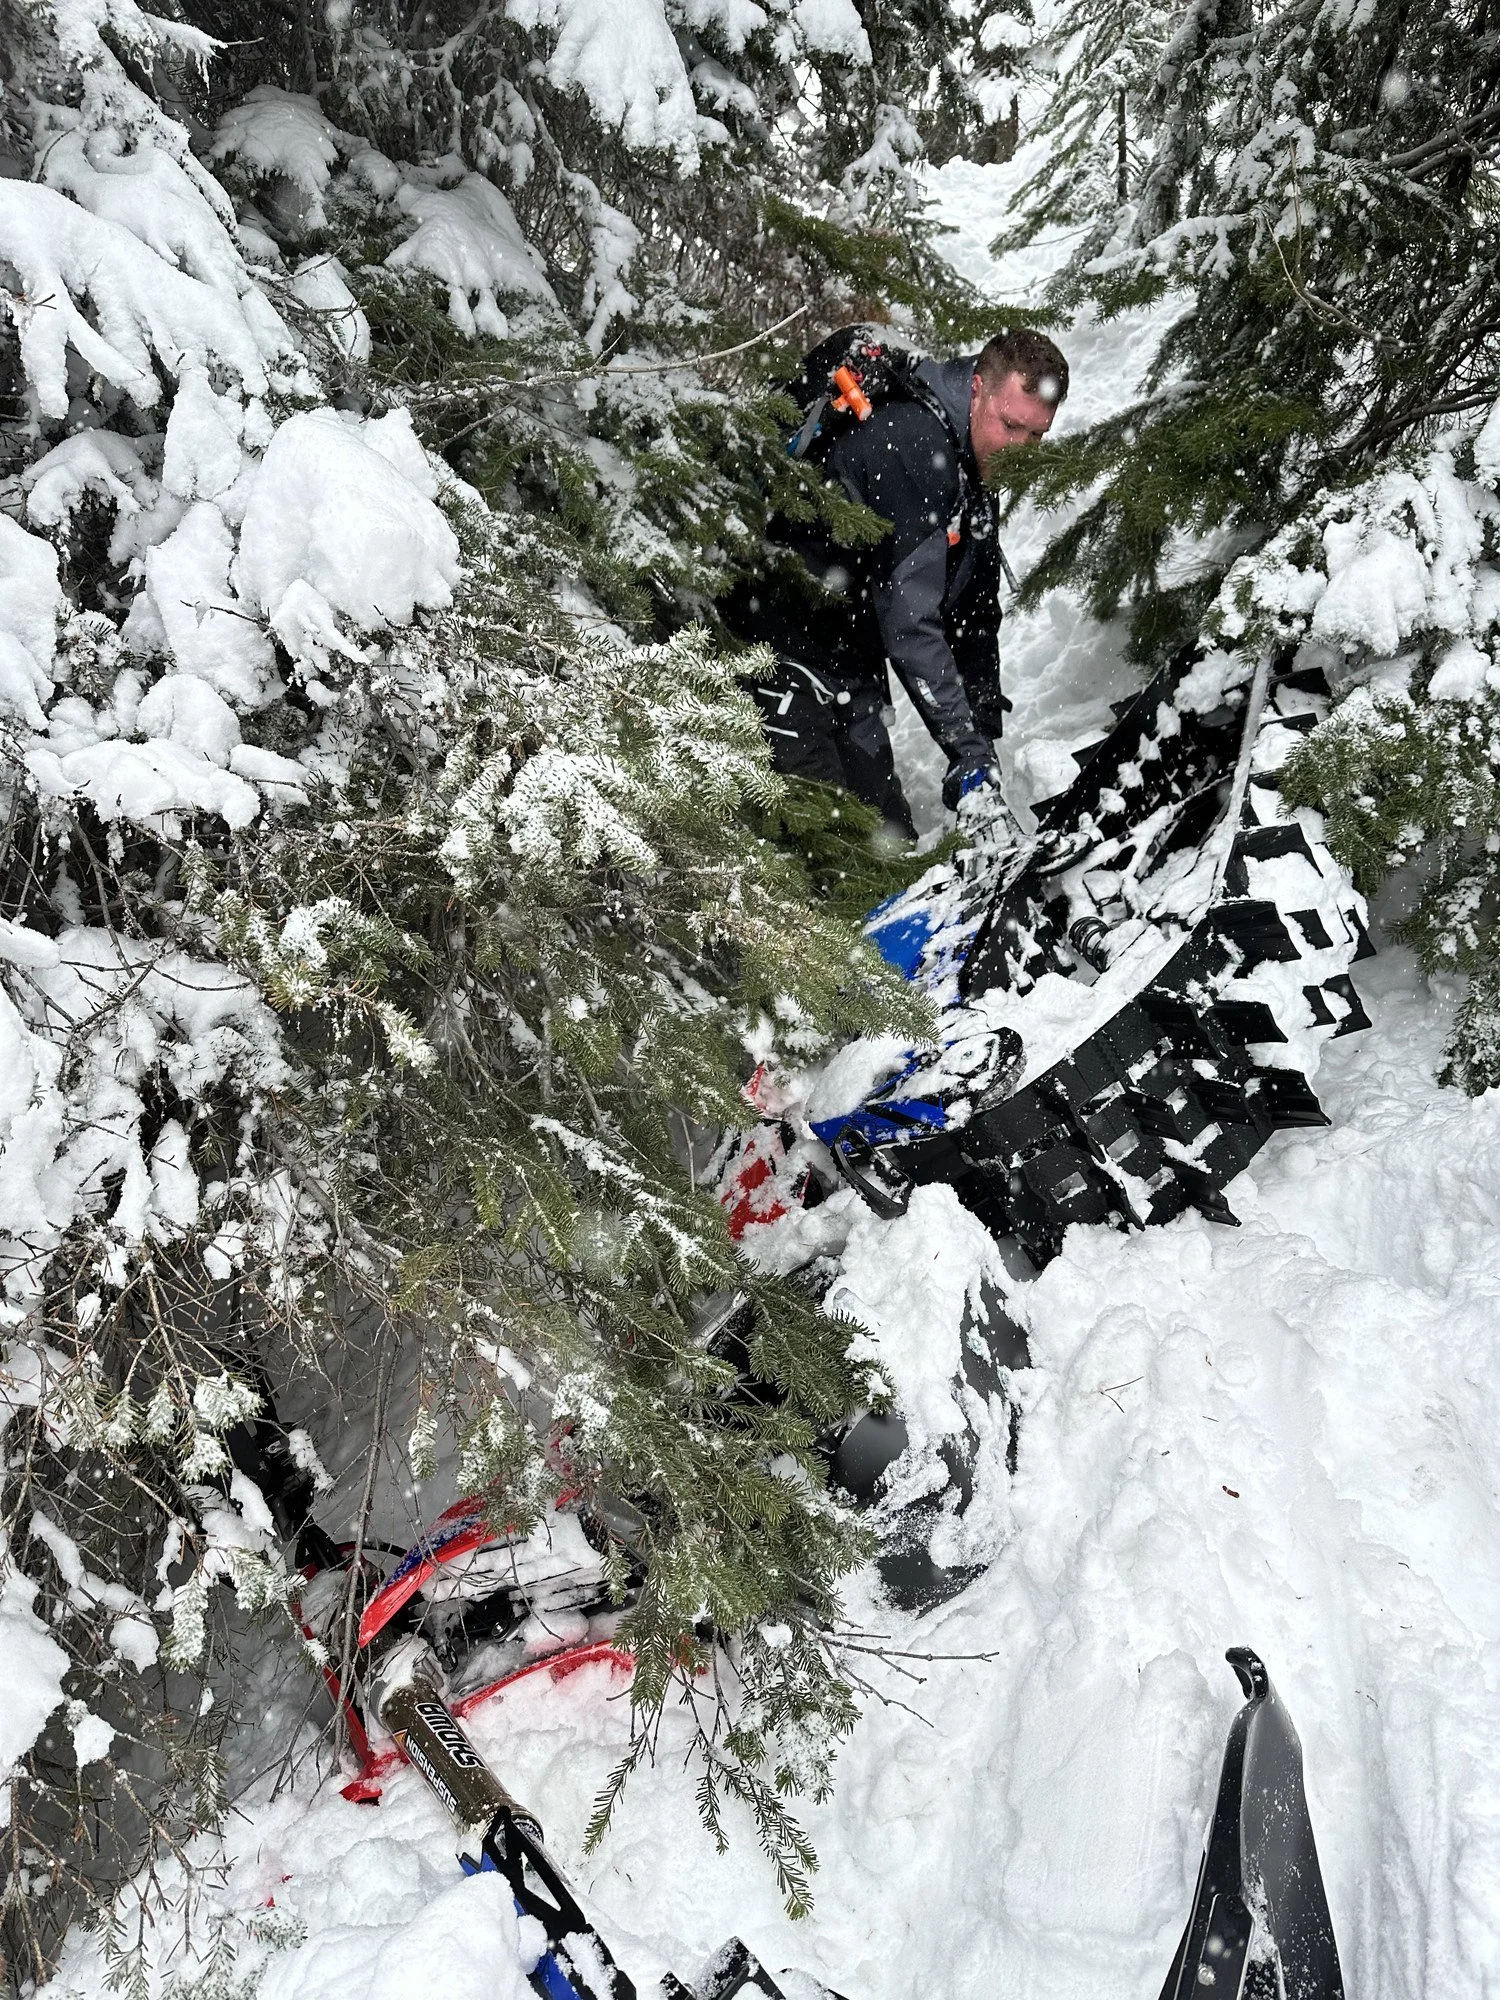
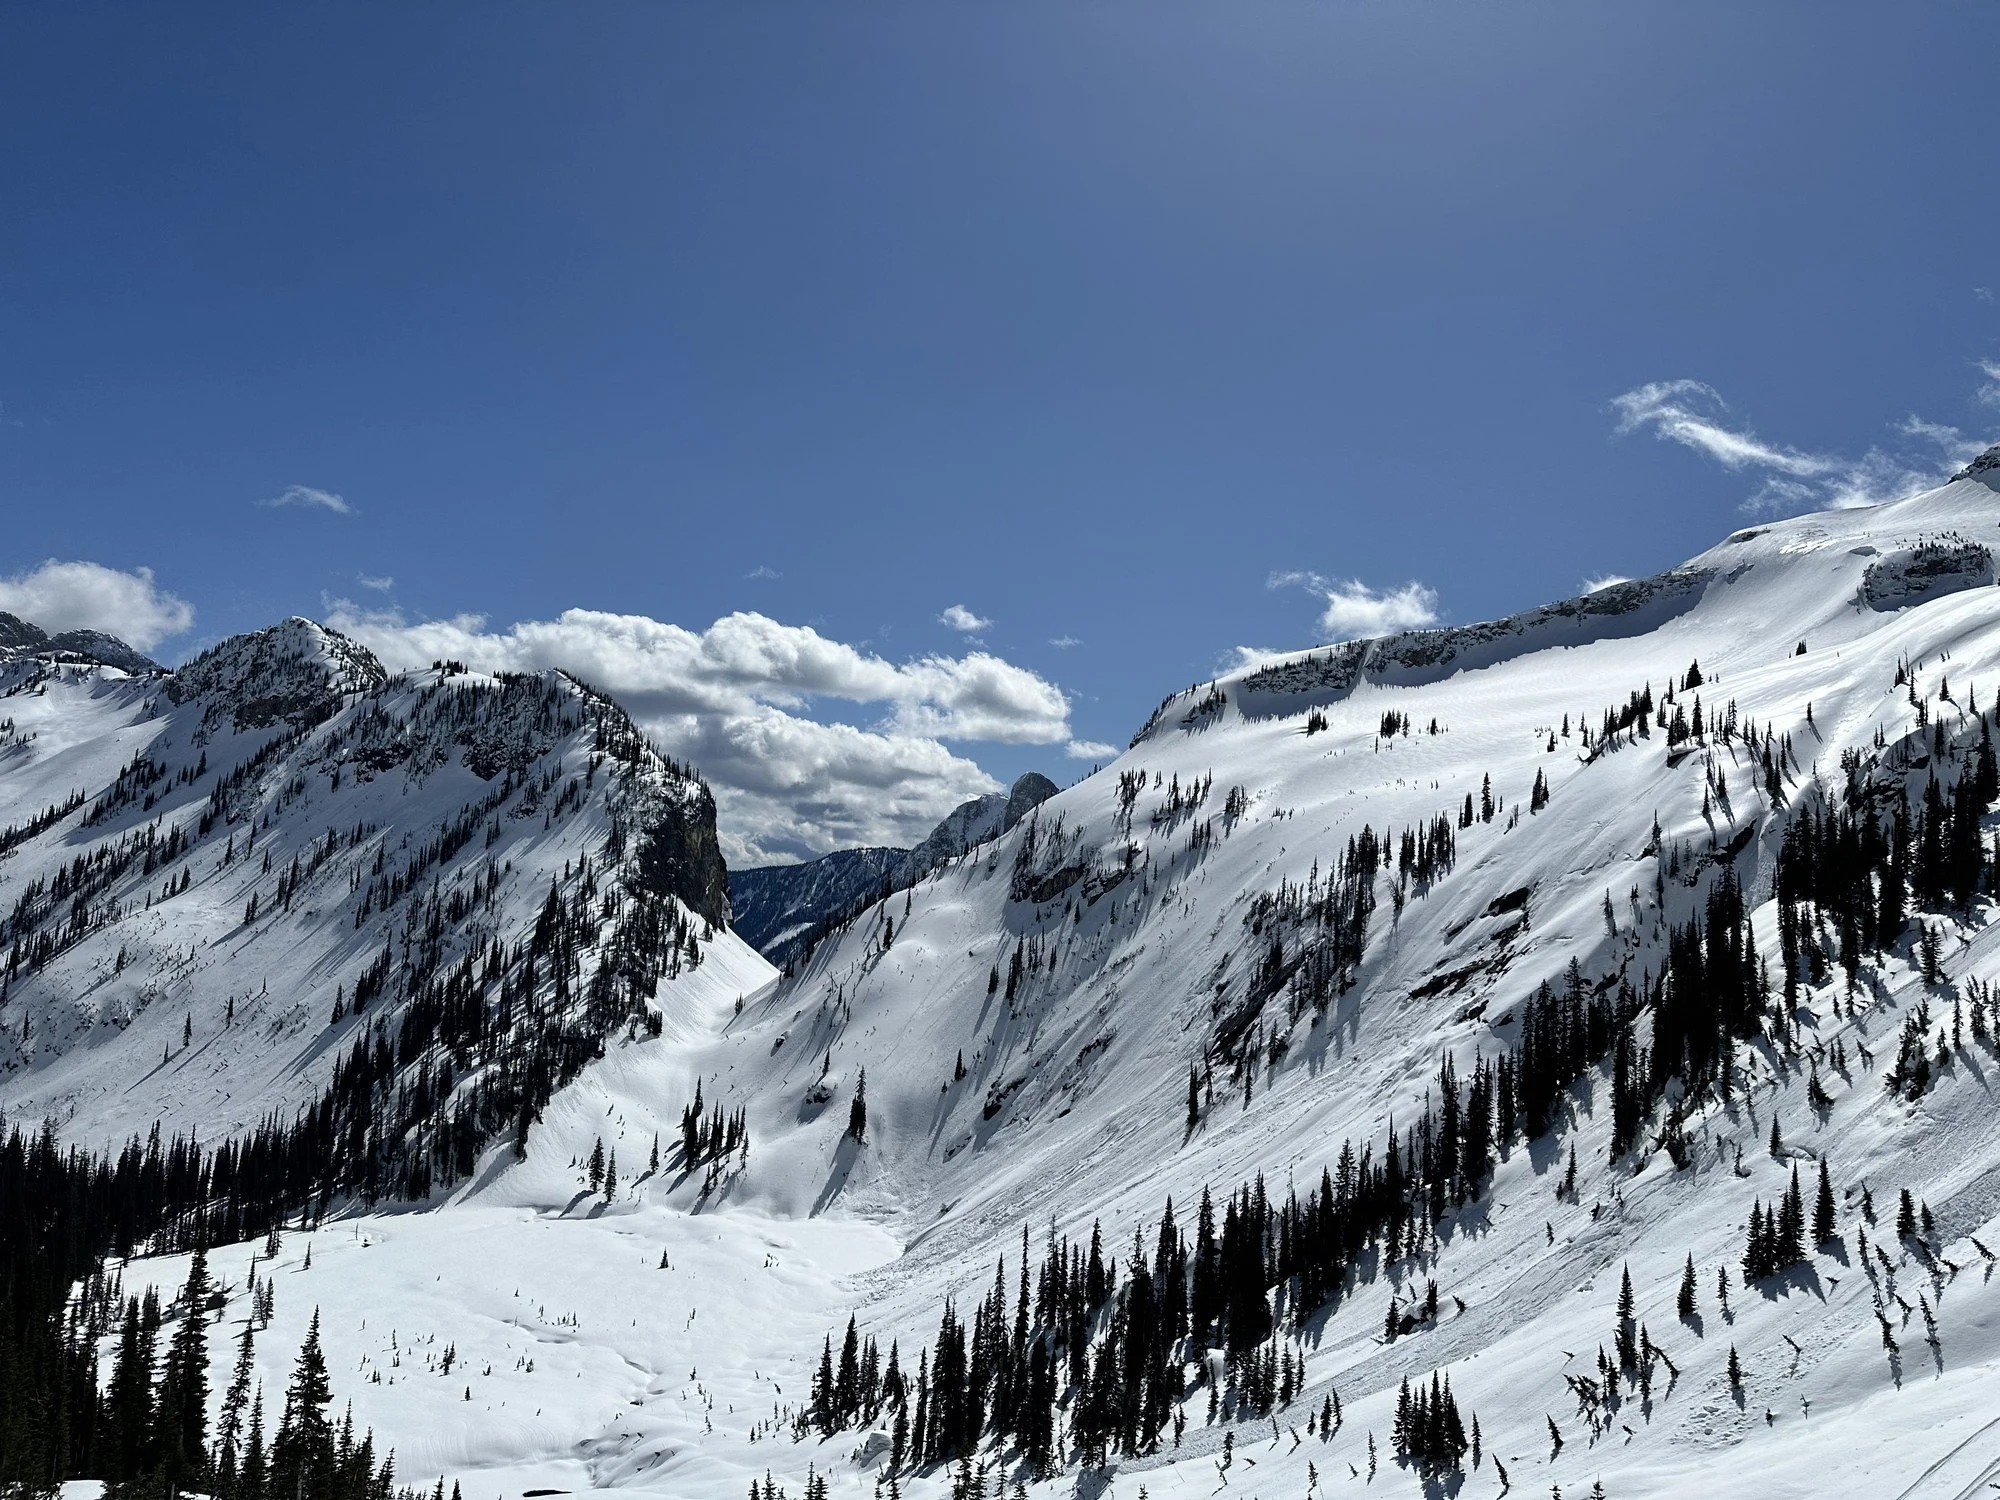
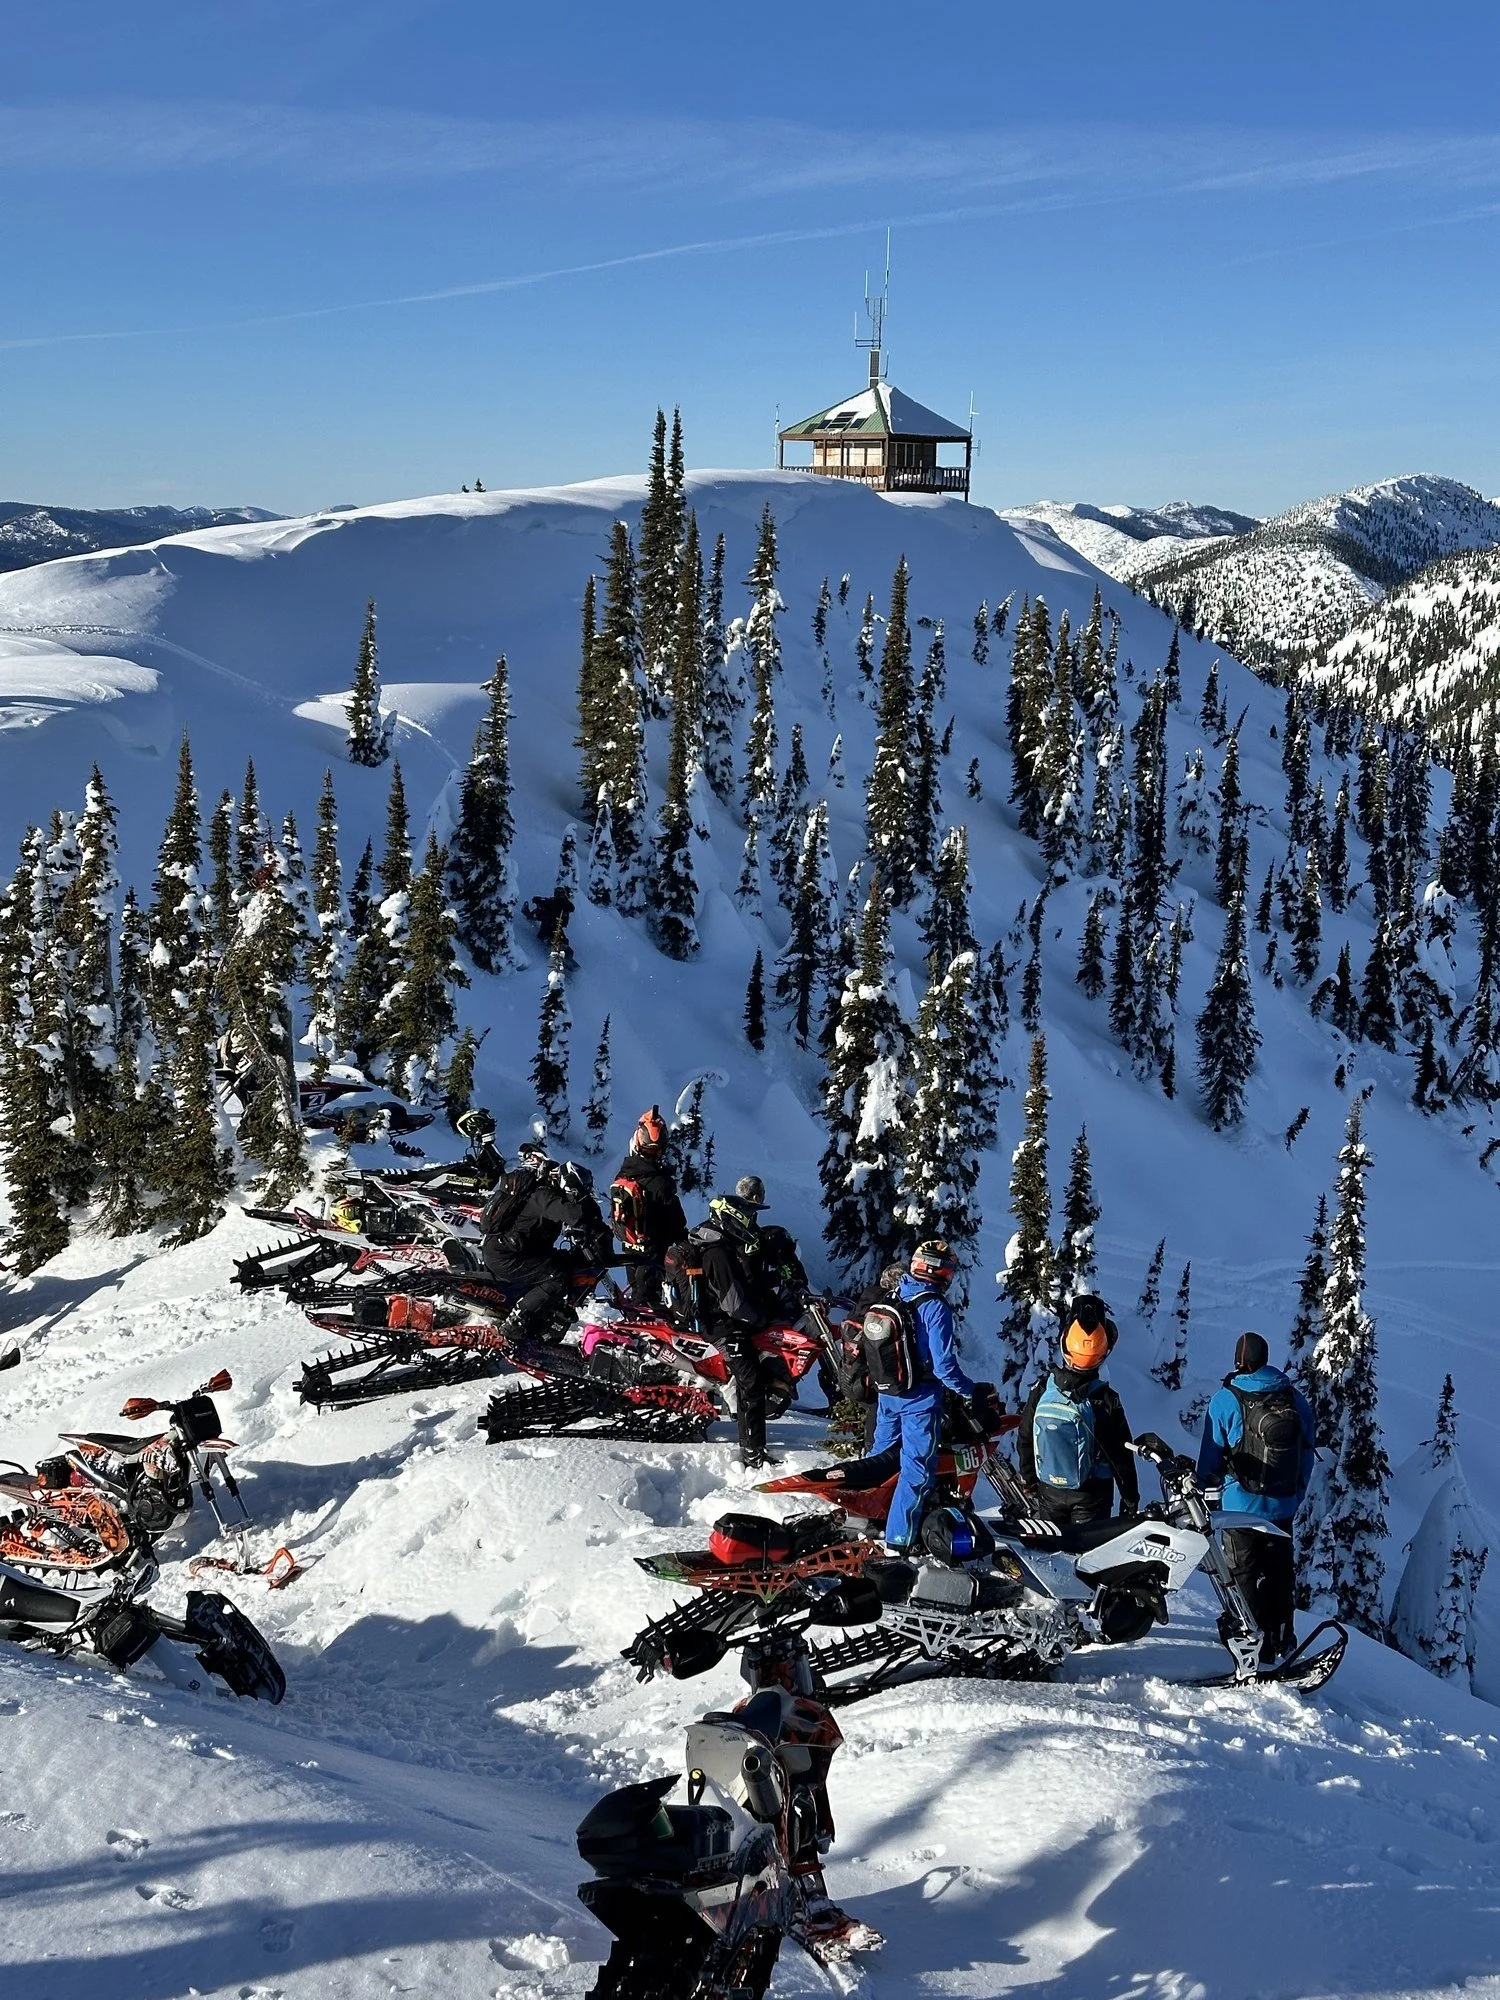
Scenes From the Ride
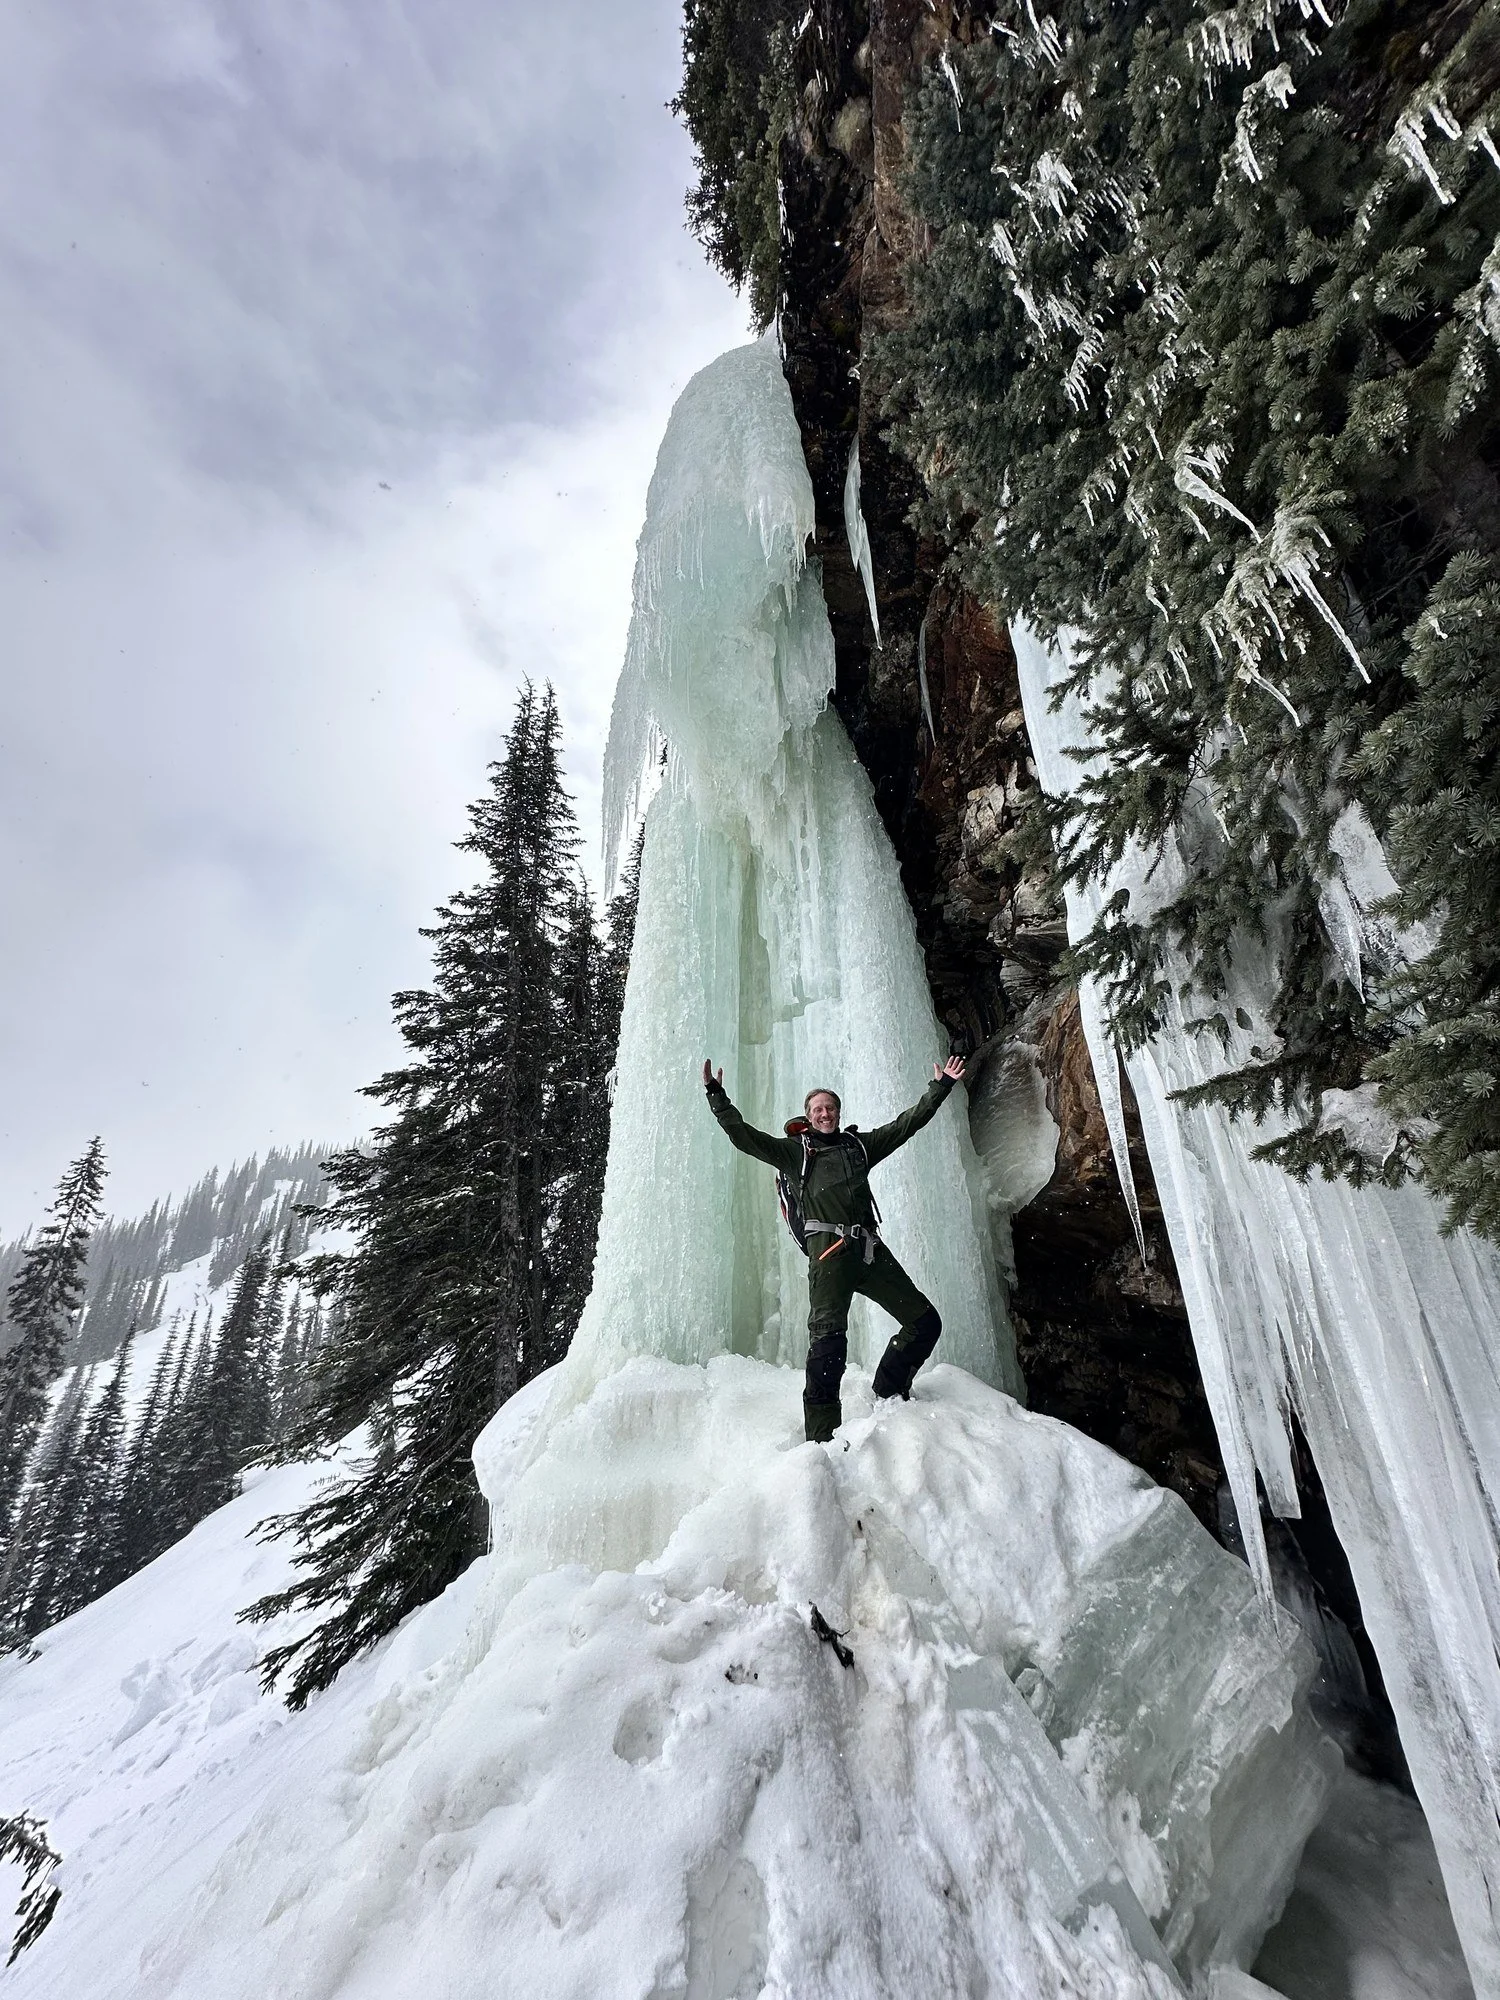
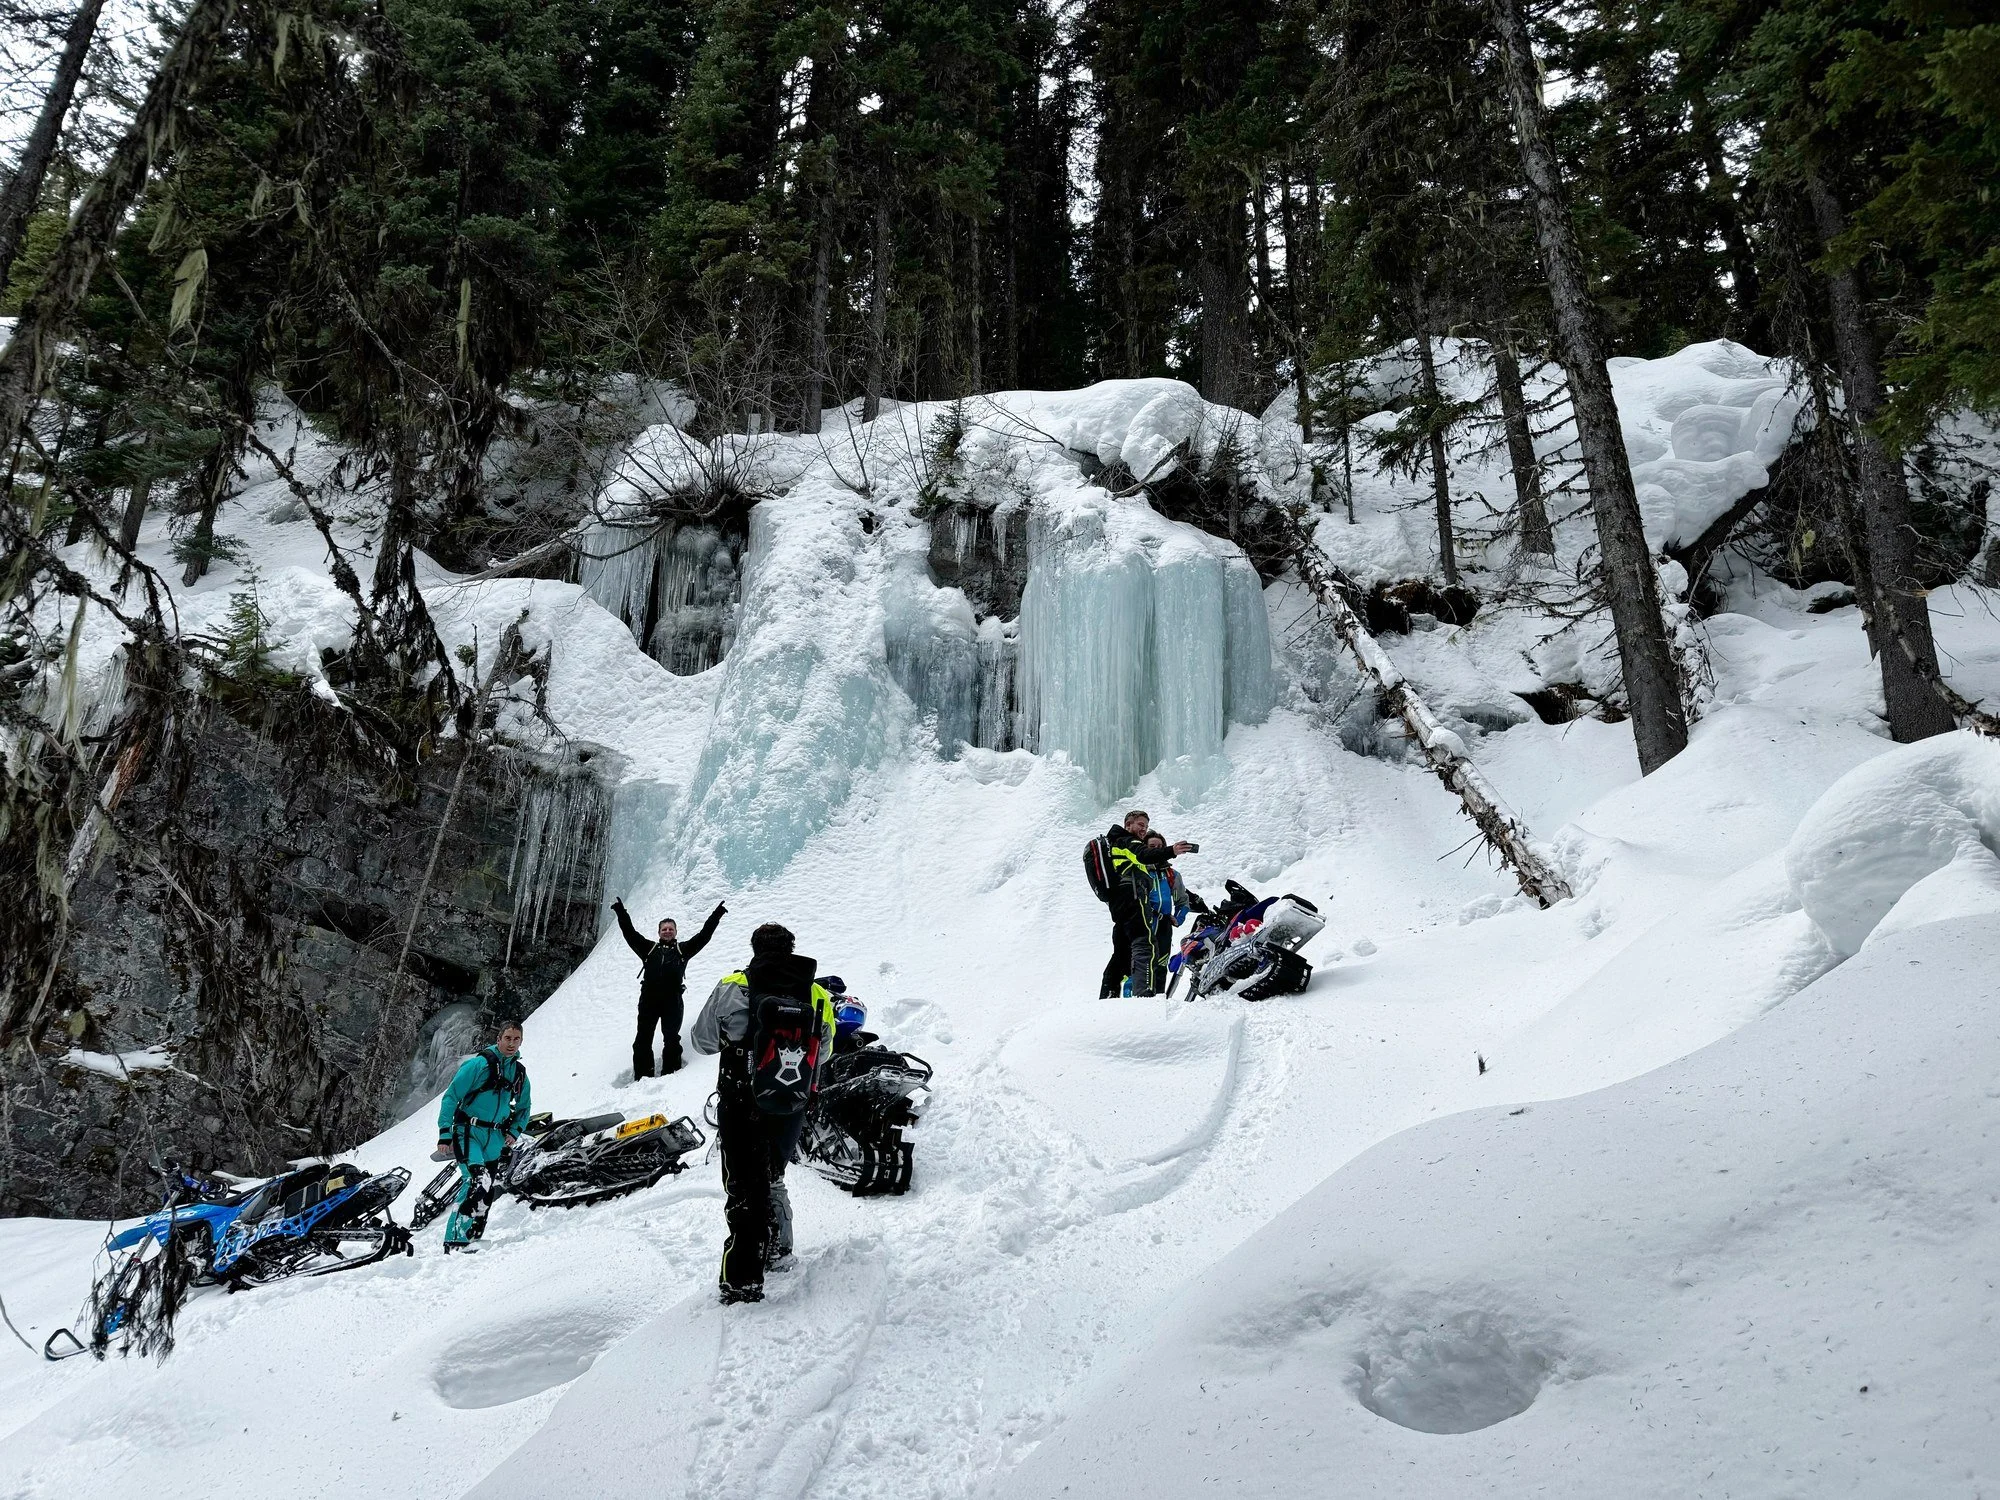
A few snowbike days in the mountains, from tight trees to open alpine terrain and frozen waterfalls. Click a photo to see the full image.